
Chrome
Browser extension guide
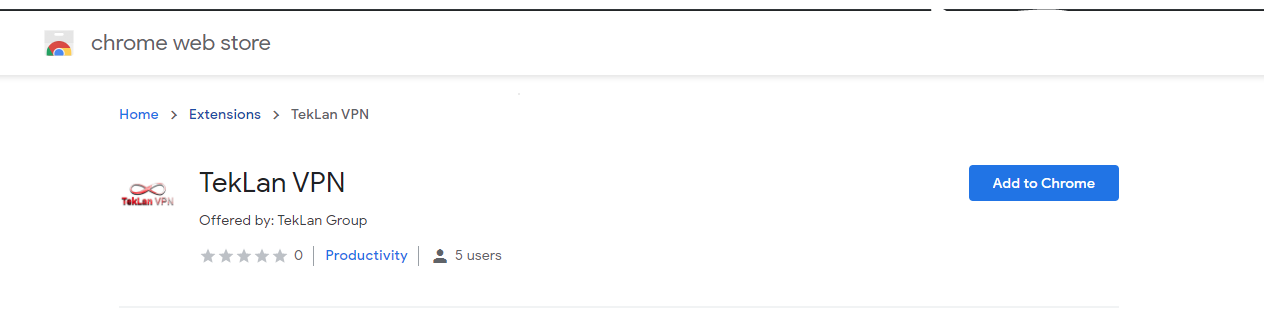
Install TekLan VPN from the Chrome Web Store. 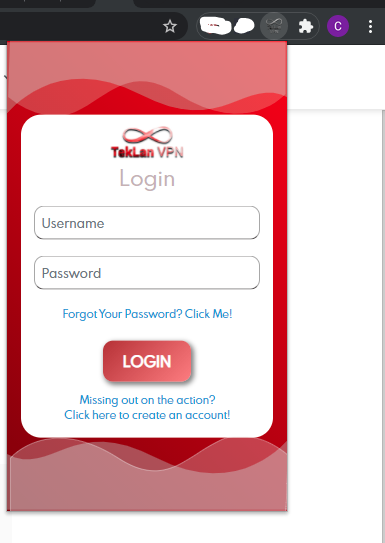
Open the extension and sign in with your TekLan VPN client account.
Install TekLan VPN in Google Chrome
The extension protects browsing inside Chrome. It does not route traffic from other applications on the computer.
The current Chrome Web Store version is 2.1.3.
Before you begin
- Update Google Chrome to a current version.
- Have your TekLan VPN client-account sign-in ready.
- Disable any other VPN or proxy extension while testing TekLan.
- Open the TekLan VPN listing in the Chrome Web Store.
- Select Add to Chrome, review the permissions and confirm with Add extension.
- Open Chrome’s extensions menu, select TekLan VPN and pin it to the toolbar if required.
- Enter your TekLan VPN client-account email address and password, select a server and connect.
Check the connection
- Open the TekLan extension and confirm it reports an active connection.
- Reload the current tab.
- Open a public IP-checking website in Google Chrome and confirm the address changes.
- Remember that the extension protects Google Chrome traffic only.
If it does not connect
- Confirm the extension is enabled in Google Chrome.
- Disable conflicting VPN, proxy or privacy extensions.
- Sign out, restart Google Chrome and sign in again.
- Confirm the client account works in a private browsing window.