For Nintendo Switch. The VPN profile runs on a compatible router.
Nintendo Switch router setup
Route Nintendo Switch through a compatible VPN router
The profile is installed on a compatible WireGuard or OpenVPN router, not directly on Nintendo Switch.
Before you begin
Confirm the router has a supported WireGuard or OpenVPN client and that you can sign in to its administration page.
Connect the Nintendo Switch to that router and identify it in the router device list.
Back up the router settings before changing VPN or policy-routing options.
Choose the router protocol and delivery method
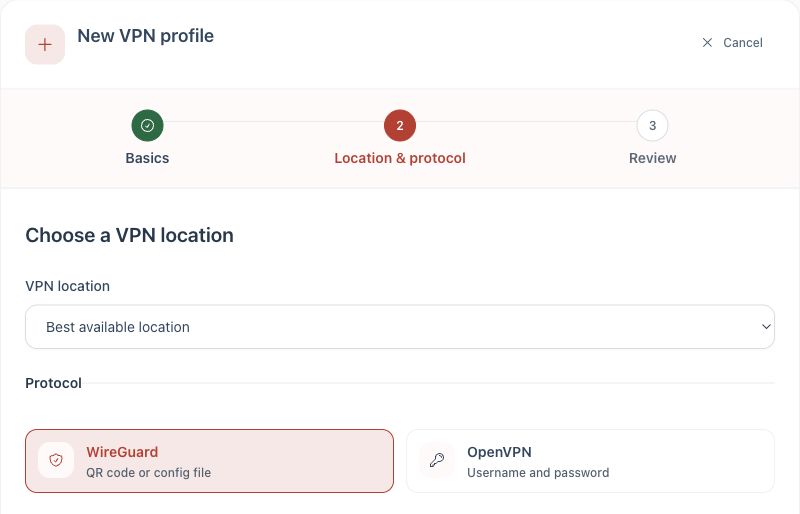
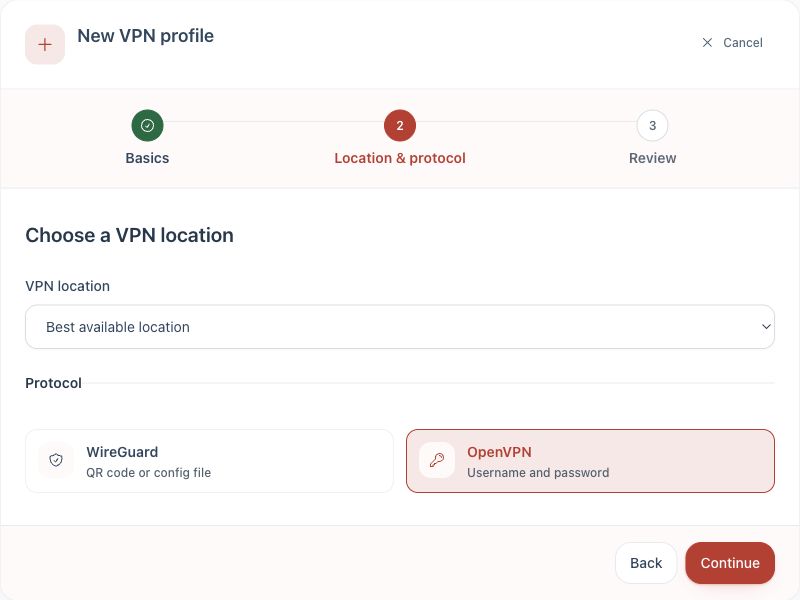
Create a separate profile for the router. Use WireGuard when the selected router guide supports it, or OpenVPN when it does not.
WireGuard download: download the .conf file directly.
WireGuard email: select Send profile, choose Email and queue the .conf attachment.
WireGuard device code: select Send profile, then Get code. On the device being used to configure the router, open dash.teklanvpn.com/get, enter the code and download the file. The code expires after 15 minutes and works once.
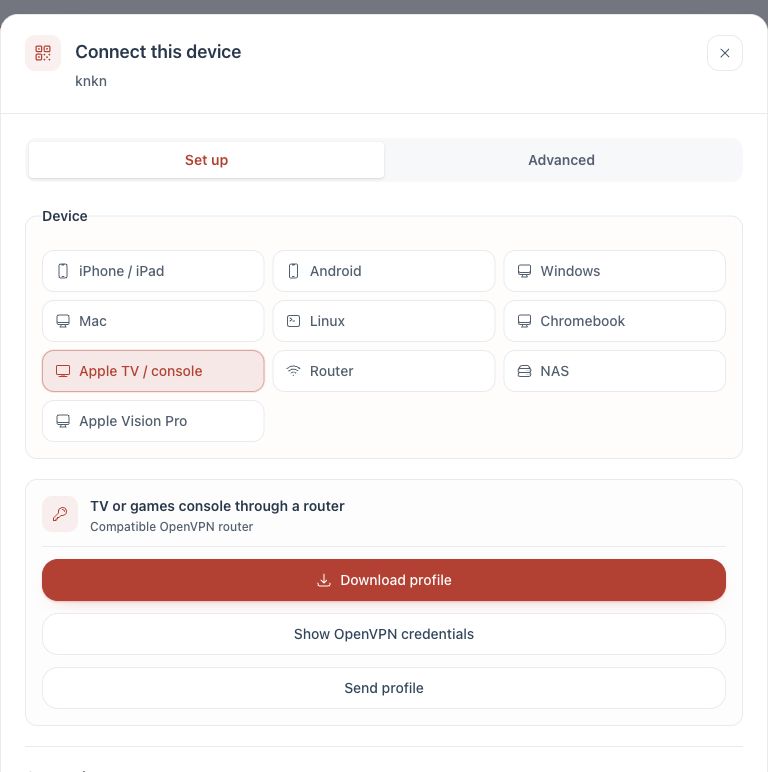
OpenVPN download or email: download the .ovpn file or queue it by email under Send profile. Select Show OpenVPN credentials and keep the displayed private-key password available. Device access codes are not offered for OpenVPN.
1. Choose WireGuard when the router supports it.2. Choose OpenVPN when required by the router.3. Select the router-based option shown in the Dashboard.
Complete the setup
For WireGuard: create a WireGuard profile, download its .conf file and follow the router guide for a compatible WireGuard client.
For OpenVPN: create an OpenVPN profile, select Connect device, choose Apple TV / console, then select the router shown in the Dashboard.
Follow the instructions for that router or firmware. Do not use directions written for a different router interface.
Import the .conf or .ovpn file, connect the router VPN client and confirm that it stays connected.
In the router policy-routing settings, assign the Nintendo Switch to the VPN profile.
Restart the Nintendo Switch network connection so it receives the current route and DNS settings.
Test the router policy before using Nintendo Switch.
Check the connection
Confirm the VPN client reports Connected in the router administration page.
Confirm the Nintendo Switch is assigned to the VPN policy rather than the normal internet route.
Restart the Nintendo Switch network connection after changing the policy.
If the device cannot open an IP-checking site, temporarily assign a phone to the same policy and confirm its public IP address changes.
If it does not connect
Generate a fresh profile and confirm that the correct router firmware was selected.
If the router connects but Nintendo Switch does not use the VPN, recheck its policy-routing assignment.
Remove any older VPN policy that also targets Nintendo Switch.
Check the router clock and DNS settings if the tunnel repeatedly drops.